251,000 Students Served
See why so many people choose to learn with us.
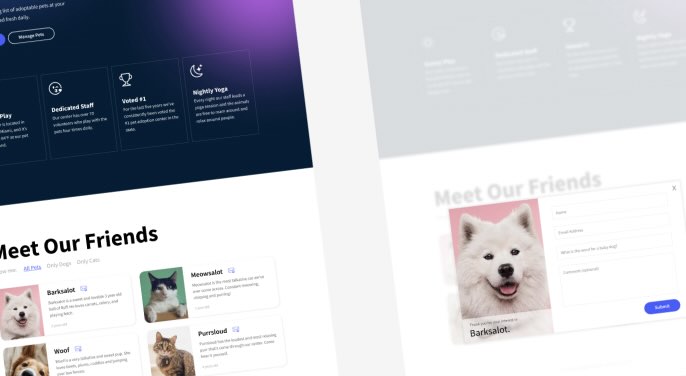
Holistic Skills
Learn how to turn a mockup design into a living, breathing, interactive web app that’s powered by dynamic data that users can change.
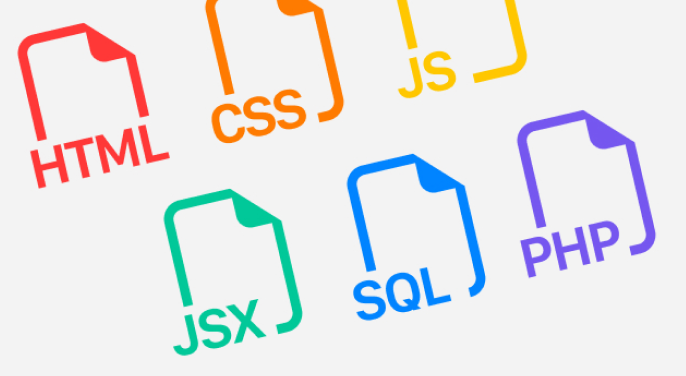
In-Demand Tech
Learn how to make decisions and solve problems with code. From JavaScript to databases; you’ll accomplish real world tasks.

Friendly Community
Our premium plans include an exclusive chat group. There’s power in a group of people studying the same topics at the same time.